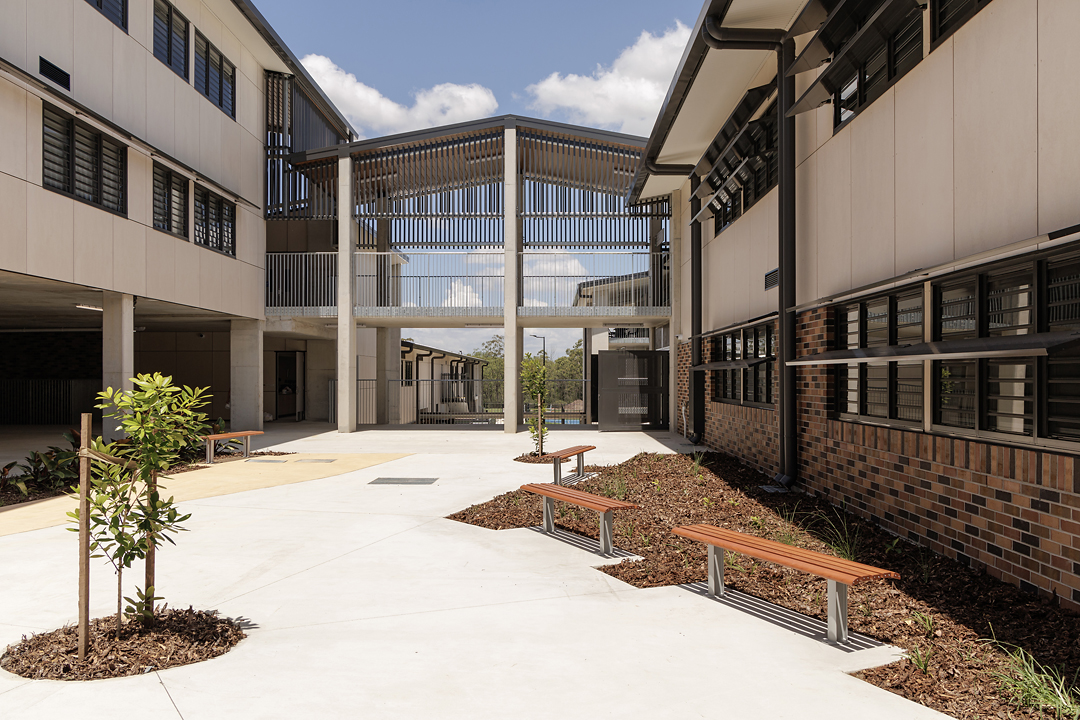
Genesis Facade System Installation Guidelines

BIM DOWNLOADS
Genesis Installation Guidelines
Fairview's Genesis prefinished compressed fibre cement facade system includes a step-by-step installation guide and video tutorials for best practices and long-lasting results.
1. Introduction
This video introduces Fairview’s Genesis installer induction series, outlining key topics: health and safety, cutting and drilling, proper storage and handling, rainscreen façade benefits and essential accessories. It also previews installation steps, from top hats and panel orientation to sealing and maintenance, ensuring a safe, efficient and long-lasting façade system.
2. Health & Safety
This video highlights critical safety measures when working with Genesis, which contains respirable crystalline silica. It demonstrates proper PPE, cutting and clean-up methods. It also outlines best practices for tool use and hazard avoidance, supporting a safe work environment throughout installation.
KEY TAKEAWAYS:
- Genesis panels contain respirable crystalline silica.
- Wear a P1 or P2 respirator.
- Never dry sweep or use grinders.
- Always work in well-ventilated areas and use dust-reducing tools.
- Follow AS/NZS standards to minimise dust exposure.
3. Storage & Handling
Focusing on damage prevention and safe handling, this video explains how to store Genesis boards on level surfaces, stack properly and ventilate stored materials. It shows correct lifting techniques, transport methods using forklifts or cranes and advice for long-term storage, ensuring product integrity from delivery to installation.
KEY TAKEAWAYS:
- Store Genesis boards on flat, dry surfaces. Store indoors if you plan to keep for longer than two weeks.
- Carry on edge with two people or use mechanical lifting.
- Avoid stacking over two pallets high.
4. Ventilation & Rainscreen Façades
This segment explains how Genesis operates as a ventilated rainscreen façade, enhancing energy efficiency, thermal comfort and durability. It explores the chimney effect, acoustic benefits, moisture management and the importance of ventilation gaps and perforated profiles for airflow and moisture control.
KEY TAKEAWAYS:
- Genesis utilises a ventilated rainscreen system to enhance energy efficiency and control moisture.
- Ventilation gaps must be installed at the top, base and around openings.
5. Genesis Facade System Accessories
This video covers essential Vitrafix accessories that support a compliant and durable installation. It includes sarking and tape for weatherproofing, ROCKWOOL insulation for energy and acoustic performance, and structural elements like steel top hats, flashing, gasket tape, rivets, drill bits and edge sealers.
KEY TAKEAWAYS:
- Sarking and tapes provide essential weather protection, preventing moisture and wind-driven rain from entering the building envelope.
- ROCKWOOL insulation enhances energy efficiency, providing both thermal and acoustic benefits.
- The Vitrafix range ensures compliance and durability. Discover the complete range here.
6. Panel Orientation & Top Hat Installation
This video guides installers on panel layout options, horizontal or vertical, and the correct placement of Genesis Joining and Intermediate Top Hats. It covers alignment tolerances, vertical installation, joint alignment, ventilation gaps and proper gasket application to ensure structural integrity and visual quality.
KEY TAKEAWAYS:
- Genesis panels support both vertical and horizontal orientations with varied design layouts.
- The chosen panel layout determines correct top hat positioning.
- Always ensure walls are plumb and top hats are installed vertically with specified spacing and breaks at floor levels.
7. Cutting, Sanding & Sealing
Detailing proper cutting and finishing techniques, this video recommends specific saw blades and cutting orientations for clean results. It demonstrates how to bevel edges, remove dust, and apply edge sealer to exposed edges, ensuring a clean finish, moisture protection and long-term performance.
KEY TAKEAWAYS:
- Use a fibre cement-specific saw blade and appropriate tools to ensure clean cuts and reduce dust.
- Bevel freshly cut edges with 80-grit sandpaper and a sanding block to prevent chipping and achieve a smooth finish.
- Apply Genesis Edge Sealer to cut edges of Genesis Classic, Infuse, and Signature boards — not required for Genesis Raw, Hewn, or Groove.
- Shake the sealer before use. Apply a thin layer to clean, dry edges.
8. Panel Preparation
This video covers precise techniques for cutting around openings and pre-drilling Genesis boards. It advises segmenting cut-outs to avoid cracking, supporting panel joints and using Genesis Fibre Cement Drill Bits with ø9mm holes. Dust removal post-drilling ensures a professional finish without staining.
KEY TAKEAWAYS:
- Avoid single-piece cut-outs for windows and doors – use multiple smaller sections to minimise cracking risk.
- Pre-drill boards with a 9mm hole using the Genesis Fibre Cement Drill Bit.
- Pre-drill top hats using a 4.9mm centring drill bit.
9. Panel Installation
This section outlines the correct method for fixing Genesis panels, ensuring precise alignment, consistent spacing and a high-quality, compliant façade finish.
KEY TAKEAWAYS:
- Joint spacing must be 8–16mm, whether horizontal or vertical.
- Two fixed points per panel must be located near the centre; other rivets are sliding points.
- Horizontal joints can be closed with 3.5mm Genesis Back Flashing.
- Vertical joints must sit on a continuous top hat with Genesis Façade Gasket Tape for a blackout effect.
10. Care & Maintenance
This section outlines the steps to maintain the performance and visual appeal of the Genesis façade system. Use a soft cloth and mild detergent to clean panels. Avoid abrasive tools or harsh chemicals. Periodically inspect the façade for signs of damage, water ingress or wear, especially after severe weather.
KEY TAKEAWAYS:
- Clean with lukewarm water and mild detergent – no solvents or high-pressure cleaners.
- Test all cleaners on a small area first to avoid surface damage.
- Use safe moss/algae detergents – always check compatibility with fibre cement.
- Remove efflorescence with white vinegar or 10% acetic acid, followed by a thorough rinse.
11. Conclusion
Fairview is committed to supporting installers with quality products and expert advice, every step of the way. Following the correct procedures ensures a compliant, durable and aesthetically consistent façade.
For further assistance, refer to the installation manual or contact us via the form below.